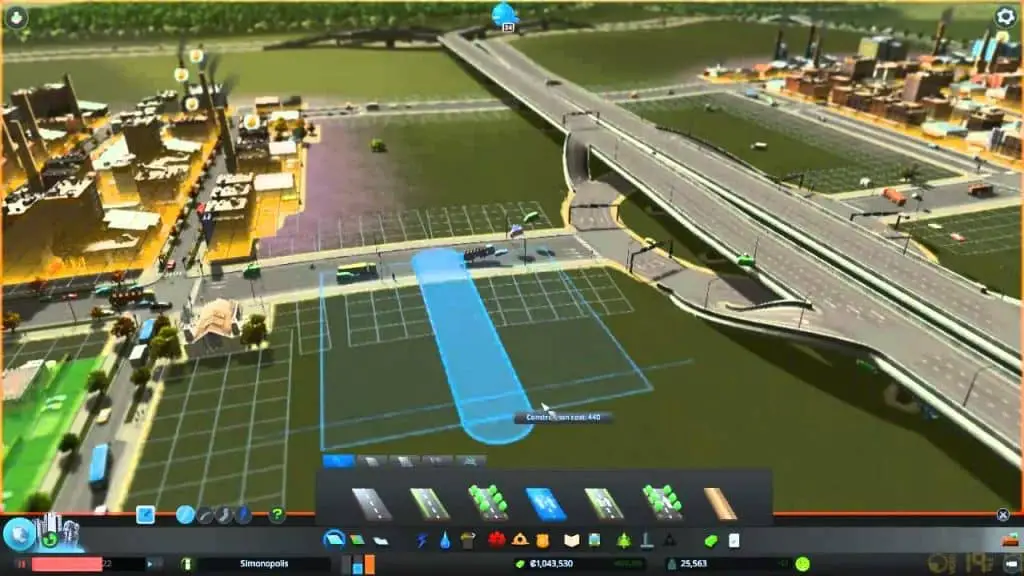
Being able to elevate roads in Cities: Skylines is important to managing traffic in your city. Elevated roads can reduce congestion as well as create more spaces for buildings to be erected under them.
This article explains in detail the steps involved in creating elevated roads in Cities: Skylines.
How to Elevate Roads in Cities: Skylines
In creating elevated roads, the process is as simple as tapping a button on your keyboard.
Below is the step-by-step procedure on how to make elevated roads in Cities: Skylines.
- Open the Road Tool and select a road type.
- Click “Page Up” to raise your road.
- You can use the button as many times as you need (within tolerances) to change the elevation.
If you have a Mac, use the control “Fn + Up” to elevate the road.
Note that you can only change the height of your roads during the road planning stage. Before making elevated roads, you shouldn’t have any roads laid yet, however you should be in the process of doing so.
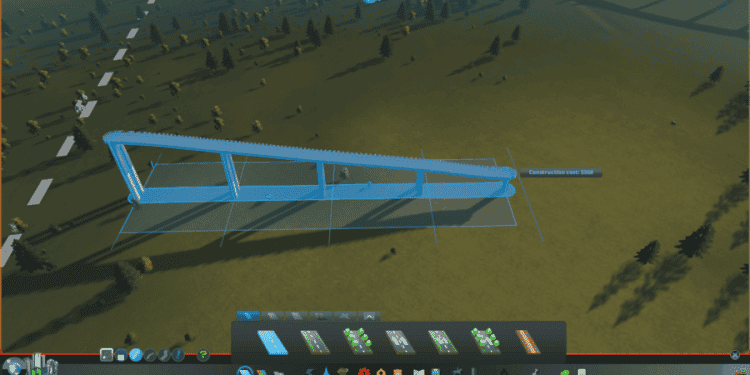
If you lower or raise elevation before placing a road, the whole road section will be of your desired height. However, if you raise or lower after you’ve positioned them, the road will develop an angle from the initial height to the new height you’ve selected.
Also Read: How to Get More Workers in Cities: Skylines?
How to change the height increments on Cities: Skylines

If you want to change the height step increments, do the following
- Click on the vertical bar next to the road types. The default height is 12 meters
- Adjust the increments to 3, 6 or 12.
- Then, lay down the roads.
Note that road elevation in Cities: Skylines is dependent on the height of the ground on which the road is built at first. This is to say that, not all roads with the same elevation increase will have the same height.
Moreover, there is a cap to how high a road can be and how steep its slope can be. Above a certain height, the road becomes a bridge.
Elevation Controls Aren’t Working
If after following the above procedures, your roads are not elevated, here is what to do;
- Open the main menu of Cities: Skylines.
- Select “Options.”
- Head to the “Keymapping” section.
- Scroll down to “Build Elevation Up” and “Build Elevation Down.”
- These tabs will show you what buttons your change elevation type is currently assigned to. If no keys are bound to them, click on their respective boxes and map the keys for each action.
- If you desire to change the command, click the box that shows the mapping, and press the keyboard that you wish to assign the control to.
- Then, go back to your city and test if the controls work.
How to Lower Roads in Cities: Skylines
To further decongest traffic in your city, you may also decide to build below-ground roads.
To do this, lower the road elevation by tapping the “Page Down” button on your keyboard. Conversely, you can keep pressing “Page Down” until you reach underground.
On a Mac computer, use the controls “Fn + Down” to lower the road.
Elevated roads require more Cells to maintain. Usually, you’ll pay at least double of a standard Highway Road.
Also Read: How To Build Highway Exits in Cities: Skylines?
Some tips to Reduce Traffic in Cities: Skylines
- Encourage biking. This will help to reduce the number of vehicles on the line
- Use Free Public Transport policies.
Though expensive, this will make leaving the car at home a much desirable option, thus ensuring that fewer cars are on the roads to cause traffic.
- Heavy traffic ban. This policy prevents trucks carrying cargo through a designated district.
You can turn this setting on to make sure trucks stick to the main road and to junctions mapped out to handle high volume.
- Old Town. This policy is to stop tourists from using a district as a shortcut to their destination. It is quite similar to Heavy Traffic Ban but is it designed for cars.
- Build neighborhoods around pedestrians.
- Add crosswalks or pedestrian crossings on quiet streets.
Conclusion
To make elevated roads in Cities: Skylines, open the Road Tool and press “Page Up”. If you use a Mac computer, use the control “Fn + Up” to elevate the road.


