Are you tired of struggling with load order issues in Vortex for Fallout 4? You’re not the only one. Modding can be a complex and sometimes frustrating process, but fear not! We’re here to guide you through the intricacies of changing your load order in Vortex, ensuring a smoother and more enjoyable gaming experience.
With our expert knowledge and easy-to-follow steps, you’ll be able to tackle load order challenges like a pro and get back to exploring the wasteland in no time.
In a hurry? We care about your time, so here’s a quick & easy answer:
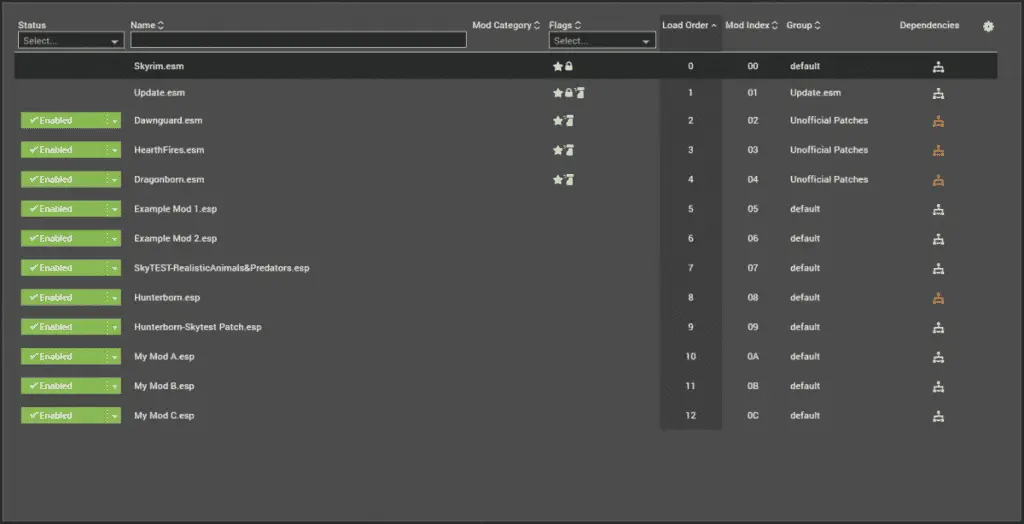
To adjust the load order in Vortex for Fallout 4, navigate to the ‘Plugins’ tab. Double-click the plugin you wish to move, and in the right-hand pane, select a ‘Group’ from the dropdown that corresponds to the desired load position. Save changes to finalize the order. For specific placement, use the ‘Manage Groups’ option to create custom mod groups.
The Role of LOOT in Vortex Load Order Management
Managing the Vortex load order for Fallout 4 involves a pivotal tool: LOOT. This instrument is designed with the purpose of organizing your mods in the best possible order for a smooth-running game and reducing common hiccups such as crashes or bugs.
Here’s the case for LOOT: It sorts your mods in an automatic fashion, utilizing a masterlist. This database is the brainchild of experienced modders, promising a game experience as stable as it gets. Additionally, LOOT provides in-depth reports about your mods, outlining potential issues and conflicts. This aids you in making decisions about which mods to retain and which to discard.
Knowing how to operate LOOT is a must for effective management of your Vortex load order. You’ll see it’s an asset, not only for Fallout 4, but for any game modding.
You might be curious about how to operate LOOT within Vortex. No need for concern, we’re going to tackle this next. So, let’s learn about automatic sorting with Vortex, a crucial feature that simplifies your mod management.
Automatic Sorting with Vortex
Vortex’s automatic sorting feature is a handy tool when it comes to the management of your Fallout 4 mods. This tool is engineered to automatically arrange your mods in the most suitable load order, minimizing crashes and performance issues.
To utilize it, simply visit the ‘Plugins’ tab, and click on ‘Auto Sort’. Vortex will then examine your mods and arrange them in an order it deems to be most appropriate, using its integrated LOOT rules. But, keep in mind that automatic sorting isn’t flawless. Complex mods or mods with intricate dependencies mightn’t be arranged correctly. It’s always advisable to verify the results.
If the order doesn’t meet your expectations, there’s no need to worry. You have the power to manually alter the load order by dragging and dropping the mods in the list. Ensure to lock the order by clicking on the lock symbol next to each mod. This stops Vortex from altering the order when auto sorting in future.
The goal of Vortex’s automatic sorting feature is to ease your mod management process, but it doesn’t substitute for careful scrutiny and understanding of your mods. Use it as a launching point, and refine according to your preference.
Interested in more Fallout 4 content? Have a look at these:
- Do Companions Need Ammo In Fallout 4?
- Top 10 Best Fallout Shelter Weapons
- How to Throw Grenades in Fallout 4?
Manual Load Order Adjustments: A Step-by-Step Guide

Automatic sorting can be helpful, but sometimes manual load order adjustments are necessary for the best game performance. This requires accessing the load order menu in Vortex.
Here’s a simple guide to follow:
| Step | Action |
|---|---|
| 1 | Launch Vortex and select the ‘Mods’ tab. |
| 2 | Choose the ‘Plugins’ tab found on the side panel. |
| 3 | A list of all installed mods will be displayed. The load order is determined by their order here. |
| 4 | To alter the order, just click and drag the mod to where you want it. |
| 5 | After making changes, press ‘Deploy’ to confirm them. |
Handle with care when adjusting the load order, as improper changes can lead to conflicts between mods.
Having grasped manual load order adjustments, you’re equipped to delve into more complex strategies. The following section on ‘advanced load order management: plugin and group rules’ will allow for further customization and enhancement of your Fallout 4 game performance.
Advanced Load Order Management: Plugin and Group Rules
Advanced load order management, specifically dealing with plugin and group rules, can further refine your Fallout 4 performance. These rules prove beneficial when handling intricate mod setups.
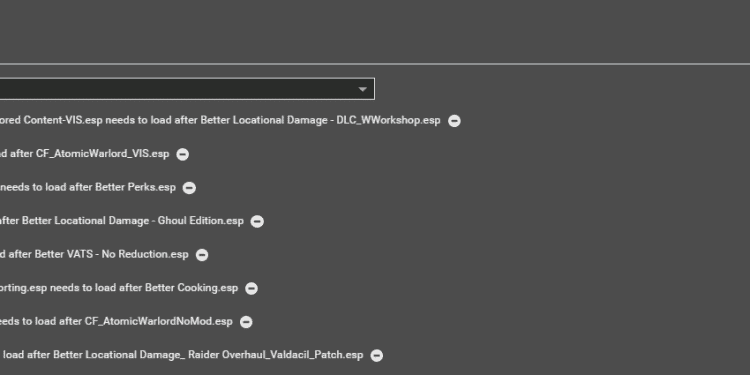
Let’s discuss plugin rules. These rules give you control over the load order of singular plugins. In the Vortex tool, you can establish plugin rules by clicking on the desired plugin and choosing ‘Add Rule’ in the ‘Dependencies’ tab. You then have the power to dictate if a plugin should load before or after another plugin, which is beneficial when dealing with mods that alter similar game elements.
Moving to group rules, these are wider in scope compared to plugin rules and give you control over the load order of whole plugin groups. Creating a group rule in Vortex involves going to the ‘Groups’ tab, selecting a group, and clicking on ‘Add Rule’. Like with plugins, the order in which a group loads before or after another group can be determined.
Proper management of load order can help avoid game crashes and other potential issues. Therefore, it’s worth your time to master these advanced techniques for an improved gameplay experience.


